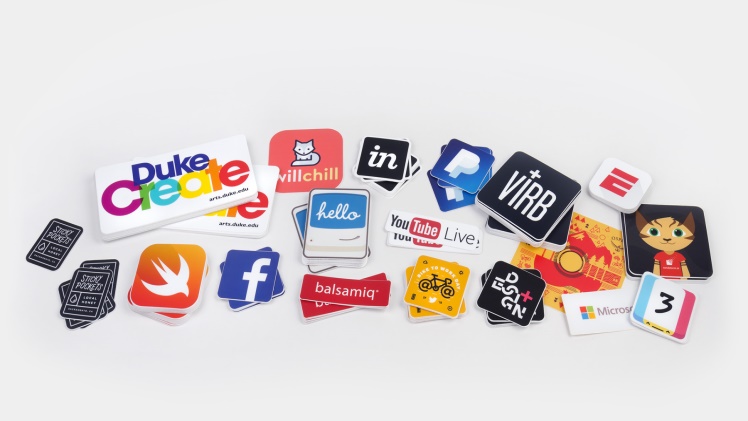
Stickers can be an important part of your daily campaign for bringing in more customers, diverting the attention of the audience towards your site or business, or for other variety of reasons. There are two types of stickers such as die-cut stickers and kiss cut stickers. Die-cut sticker is a more sophisticated type of sticker as it brings into account the aesthetical parameters of the sticker out such as the adhesive side of it is in perfect sync with the design side in terms of dimensions. If your sticker is of a house then each and every corner will be symmetric to the edges and corners of the house etched over the main design. So, if you want to make the best out of this scenario and design a die-cut sticker then you need to follow these steps;
1. Setting up your document
You should be focusing on setting up a raw document on which you need to work such as opening the document in CYMK mode at 300 DPI and the size will be based on the design that you want to create. Once the design of the logo or sticker is completed you will need to get on with the bleed and trim lines for your custom shape.
2. Creating a bleed
The die-cut design requires edge-to-edge printing and laser printing carries out the cutting you need to set a 3mm bleed line around the entire shape of the sticker in a careful fashion. The easiest way to do so is to select everything i.e. whole design in its entirety and then creating a copy that is placed on the top of the existing design. Once a copy has been made you need to join all the elements together in a compound shape by going to the pathfinder and then selecting unite.
Now it is time to select the compound shape and for that go to the object then the path and select the offset path to creating a bleed area. However, the presence of these settings will depend on the type of program that you are using.
3. Creating a spot color
After creating the bleed area it is necessary to create a trim line while using the spot colors. The trim line basically separates your printing area from the non-printing area and acts as a highlighter for the printer to understand that it doesn’t have to print beyond the trim line. The very reason how you get a perfectly symmetrical sticker each and every time. Most of the custom die-cut stickers use trim lines that are customized in accordance with the design that needs to be printed.
4. Last steps
Now you have to open the attribute panel and select the overprint stroke because we want the colors of the sticker design to print underneath the die line. If you don’t select this option then remember that your sticker will be printed in the form of a fine white line which is not something you want hence it is important to go with this option.
In the end, before initiating the sticker printing it is essential that you verify everything once again, or double-check it so everything is clear and the final results will reflect your design initiative.
Read more about this website: magazine999
You should visit this site: ikgrand
Read more about: f95zone

